
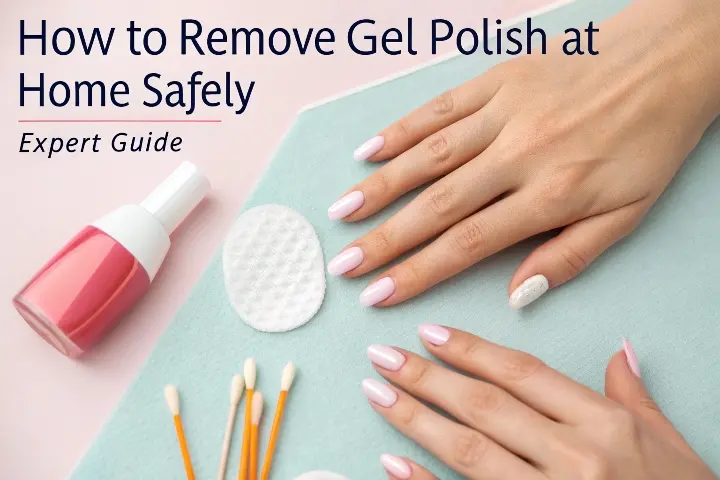
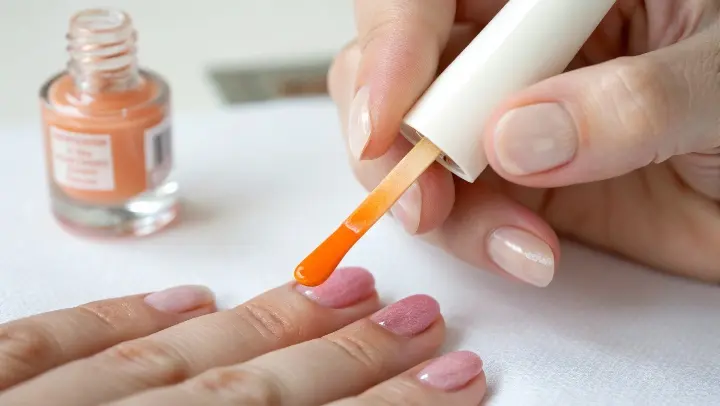
Gel polish is a game-changer for long-lasting, chip-free manicures. But when it’s time for a change, removing it the wrong way can leave your nails weak, peeling, and damaged. Many people make the mistake of peeling or scraping it off, which can thin out your natural nails over time.
The good news? You don’t need a salon visit to remove gel polish safely. With the right tools and technique, you can do it at home without harming your nails.
Let’s get started!
Why You Should Never Peel Off Gel Polish
Before we dive into the removal process, let’s talk about why peeling gel polish is a big no-no.
When you peel off gel polish, you’re not just removing the color—you’re ripping off layers of your natural nail. This weakens them, making them thin, brittle, and prone to breakage.
Signs you’ve damaged your nails from peeling gel polish:
- White, flaky patches
- Nails that bend or peel easily
- Rough, uneven texture
The right way to remove gel polish is by dissolving it with acetone and gently wiping it away—never by force.
Understanding Gel Polish and Why It’s Different
Before we dive into removal, let’s understand what makes gel polish unique:
- Chemical Composition: Gel polish contains oligomers that cure under UV/LED light
- Adhesion: Bonds tightly to the nail plate for long wear
- Durability: Resists chipping better than regular polish
- Removal Process: Requires acetone to break down the polymer structure
Unlike regular nail polish that simply dissolves with remover, gel polish needs a more involved removal process. This is because of its hardened, cross-linked structure that forms during curing.
What You’ll Need to Remove Gel Polish at Home
Gather these supplies before starting:
1. 100% Acetone (Must-Have!)
- Regular nail polish remover won’t work—it’s not strong enough.
- Look for 100% acetone at drugstores or beauty supply shops.
2. Cotton Balls or Pads
- Lint-free pads work best (they don’t leave fibers behind).
- If using cotton balls, tear them into small pieces.
3. Aluminum Foil or Nail Clips
- Foil wraps hold acetone-soaked cotton in place.
- Nail clips (like these) are reusable and less messy.
4. Nail File (100/180 Grit)
- A coarse file helps break the gel’s top seal.
- Avoid metal files—they can be too harsh.
5. Orange Stick or Cuticle Pusher
- Helps gently lift softened gel.
- Never use metal tools—they scratch nails.
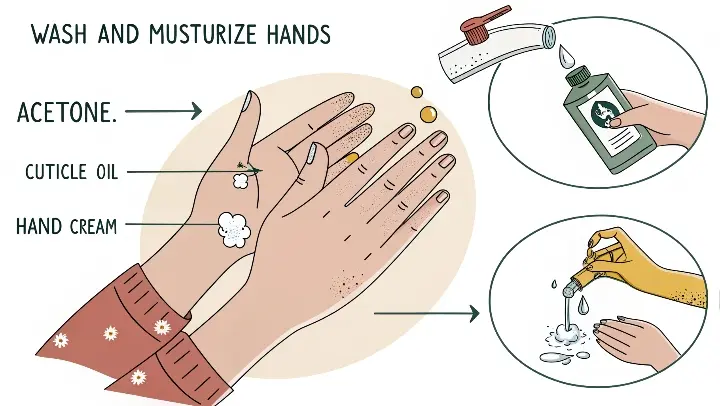
6. Hand Cream or Cuticle Oil
- Acetone dries out nails, so hydration is a must.
Step-by-Step: How to Remove Gel Polish at Home (Safely!)
Follow these steps carefully to avoid damage:
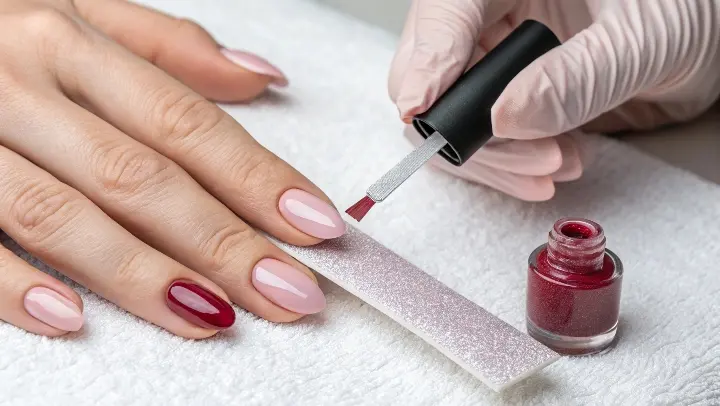
Step 1: File the Top Shiny Layer
- Gel polish has a sealed top coat that blocks acetone.
- Use a 100/180 grit file to gently buff off the shine.
- Don’t file too hard—just enough to make the surface dull.
Step 2: Soak Cotton in Acetone
- Cut cotton pads into small pieces (or use cotton balls).
- Soak each piece in 100% acetone—don’t skimp!
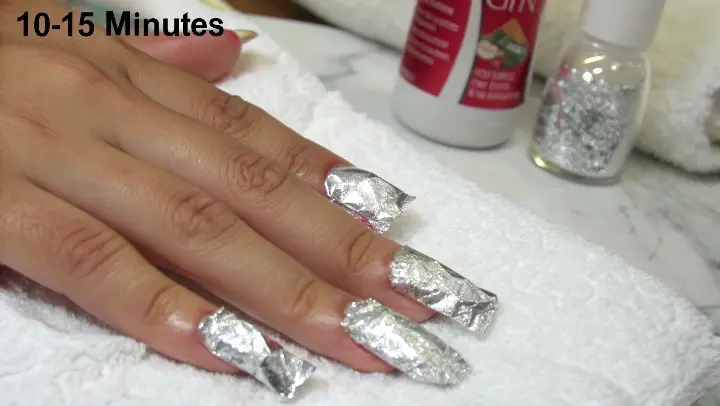
Step 3: Wrap Nails in Foil or Use Clips
- Place soaked cotton on each nail.
- Wrap tightly with aluminum foil (or use clips).
- Keep on for 10-15 minutes (no less!).
Step 4: Check if Polish is Lifting
- After 10 mins, press the cotton lightly.
- If polish wipes off easily, it’s ready.
- If not, rewrap for 5 more minutes.
Step 5: Gently Scrape Off Polish
- Use an orange stick (not metal!) to lightly scrape.
- Never force it—if it’s not coming off, soak longer.
Step 6: Wash & Moisturize
- Wash hands with soap to remove acetone.
- Apply cuticle oil + hand cream immediately.
Advanced Tips for Stubborn Gel Polish
For particularly stubborn gel or builder gels:
- Double Soak Method: After first removal, repeat the process for remaining traces
- Heat Enhancement: Use heated mitts over foil wraps
- Acetone Boost: Add a drop of glycerin to acetone to prevent excessive drying
- Professional Help: Consider a salon visit for hard-to-remove enhancements
Nail Recovery After Gel Removal
Your nails need TLC after acetone exposure. Follow this recovery plan:
First 24 Hours:
- Apply nourishing nail serum every 4 hours
- Wear gloves for any water exposure
- Avoid nail polish to let nails breathe
Week 1:
- Use a nail hardener with calcium
- Sleep with cotton gloves over thick hand cream
- Take biotin supplements to support growth
Ongoing Care:
- Always use a base coat before polish
- Keep nails trimmed short during recovery
- Schedule regular nail massages to boost circulation
Do you want to know how to make Nail Polih Remover at Home?
Troubleshooting Common Removal Problems
Problem: White, chalky residue remains
Solution: Soak a cotton pad in acetone and hold against residue for 1 minute, then gently wipe
Problem: Nails feel weak and bendy
Solution: Apply a keratin treatment and avoid water exposure for 48 hours
Problem: Cuticles are dry and peeling
Solution: Use a cuticle remover cream followed by intensive oil treatment
Problem: Nail surface is rough
Solution: Buff gently with a 240-grit buffer, then apply ridge filler
The Science Behind Safe Gel Removal
Understanding why these methods work helps you adapt them properly:
- Acetone Chemistry: Breaks the polymer chains in gel polish through solvation
- Friction Factor: Filing creates micro-abrasions for better acetone penetration
- Heat Effect: Warmth increases molecular movement, speeding breakdown
- Time Requirement: 10-15 minutes allows complete penetration through all layers
Seasonal Removal Considerations
Winter Removal:
- Warm acetone first (cold slows chemical reaction)
- Work near a humidifier to prevent excessive drying
- Follow with extra-rich hand cream
Summer Removal:
- Work in air conditioning (sweat interferes with process)
- Watch for over-soaking in humidity
- Apply SPF after as nails are more UV-sensitive post-removal
Eco-Friendly Removal Options
For those concerned about acetone:
- Acetone Recycling: Filter and reuse 2-3 times
- Biodegradable Wipes: Look for plant-based removers
- Soy-Based Removers: New alternatives (though less effective on tough gels)
- Professional Removal: Salons often use contained systems
When to Seek Professional Help
Consult a nail tech if you experience:
- Polish that won’t budge after 20 minutes
- Significant nail thinning or pain
- Allergic reactions (redness, swelling)
- Thickened or discolored nails post-removal
The Psychology of Gel Removal
Why we make bad removal choices:
- Impatience: Wanting instant results leads to peeling
- Frustration: Giving up on proper soaking too soon
- Overconfidence: Thinking “just this once” won’t hurt
- Misinformation: Believing myths about removal
Building good habits:
- Schedule removal when you have ample time
- Create a relaxing ritual around the process
- Focus on long-term nail health over convenience
- Celebrate proper removal as self-care
Common Mistakes (That Ruin Your Nails!)
❌ Peeling or Picking Gel Off
- Why it’s bad: Tears layers of your natural nail.
- Fix: Always soak & dissolve—never peel!
❌ Using Non-Acetone Remover
- Why it’s bad: Won’t break down gel polish fully.
- Fix: Only use 100% acetone.
❌ Skipping the Filing Step
- Why it’s bad: Acetone can’t penetrate the sealed top.
- Fix: Always buff the shiny layer first.
❌ Rushing the Soaking Time
- Why it’s bad: Leads to scraping & damage.
- Fix: Wait full 10-15 mins before removing.
How to Keep Your Nails Healthy After Removal
Gel polish removal can dry out nails. Here’s how to restore them:
1. Apply Nail Strengthener
- Use a keratin-based strengthener if nails feel weak.
2. Use Cuticle Oil Daily
- Prevents dryness & peeling.
3. Take Breaks Between Manicures
- Give nails 1-2 weeks to recover.
4. Wear Gloves for Chores
- Protects nails from water & chemicals.
Alternative Removal Methods
1. Warm Water + Acetone Soak
- Fill a bowl with warm water + acetone.
- Soak nails for 10-15 mins, then wipe off.
2. Acetone Nail Wraps (Like Remove+)
- Pre-soaked pads—less messy!
3. Electric File (For Pros Only!)
- A low-speed e-file can buff off gel safely.
FAQs:
1. Can I remove gel polish without acetone?
No, acetone is the only effective remover.
2. How long should I soak nails?
10-15 mins. If not lifting, soak 5 more mins.
3. Why do my nails hurt after removal?
You may have scraped too hard—always remove gently.
4. Can I use vodka or rubbing alcohol?
No, only acetone dissolves gel polish.
5. How to speed up removal?
File well & use warm acetone.
6. How often should I take a break?
1-2 weeks every 3-4 gel manicures.
7. Why are my nails white & flaky?
They’re dehydrated—use cuticle oil daily.
8. Can I reuse acetone?
Yes, store in a sealed container.
Final Thoughts
Removing gel polish at home is easy & safe if done right. Always:
✔️ Use 100% acetone
✔️ Soak for full 10-15 mins
✔️ Never peel or scrape aggressively
✔️ Moisturize after
Your nails will stay strong & healthy!
Got more questions? Ask below! 😊
4 thoughts on “How to Remove Gel Polish at Home Safely – Expert Guide”