A dirty keyboard isn’t just gross—it can slow you down, spread germs, and even damage your device over time. Whether you’re using a mechanical keyboard for gaming, a laptop for work, or a standard office keyboard, keeping it clean is a must.
In this detailed guide, we’ll cover everything you need to know about how to clean a keyboard the right way—without damaging it. You’ll learn the best cleaning methods, tools to use, common mistakes to avoid, and tips to keep your keyboard fresh for longer.
Why You Should Clean Your Keyboard Regularly
Most people don’t realize how filthy their keyboards really are. Studies have found that keyboards can harbor more bacteria than a toilet seat! Here’s why cleaning your keyboard matters:
✔ Prevents sticky or unresponsive keys – Dirt and grime can make keys harder to press.
✔ Reduces germs and bacteria – Keyboards collect sweat, food crumbs, and skin oils.
✔ Extends keyboard lifespan – Dust and debris can damage internal components.
✔ Improves typing speed and accuracy – A clean keyboard feels smoother to type on.
✔ Eliminates bad odors – Old food and dust can make your keyboard smell musty.
If you eat at your desk, have pets, or just use your keyboard daily, you should clean it at least once a month. Heavy users (gamers, writers, programmers) should clean theirs every two weeks.
Do you want to know How to Make Distilled Water at Home?
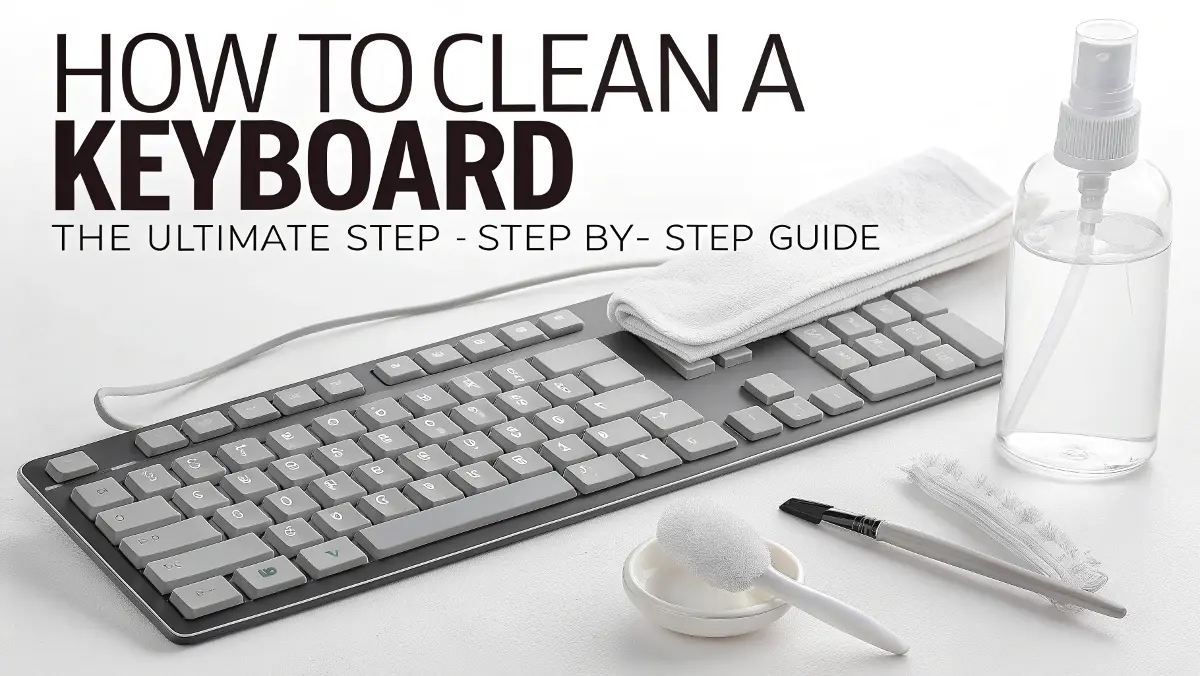
What You’ll Need to Clean a Keyboard
Before you start, gather these keyboard cleaning supplies:
- Microfiber cloth (soft and lint-free)
- Compressed air (removes dust from between keys)
- Isopropyl alcohol (70% or higher) (disinfects and evaporates quickly)
- Cotton swabs or Q-tips (cleans tight spaces)
- Soft-bristle brush (like a clean toothbrush or makeup brush)
- Keycap puller (for mechanical keyboards—don’t use fingers!)
- Mild dish soap (for deep cleaning keycaps)
- Lint-free towel (for drying)
❌ Avoid these harmful cleaning products:
- Bleach or ammonia (can damage plastic)
- Household cleaners (may leave residue)
- Paper towels (can scratch surfaces)
- Excessive water (can seep inside and damage circuits)
Step-by-Step: How to Clean a Keyboard Properly
Step 1: Turn Off and Unplug the Keyboard
- Wired keyboard? Unplug it from the computer.
- Wireless keyboard? Turn it off or remove the batteries.
- Laptop keyboard? Shut down the laptop completely.
⚠️ Never clean a keyboard while it’s powered on!
Step 2: Remove Loose Debris
- Turn the keyboard upside down and gently shake it.
- Tap the back to dislodge crumbs and dust.
- For laptops, tilt them at an angle to let debris fall out.
Step 3: Blow Out Dust with Compressed Air
- Hold the can 6 inches away from the keyboard.
- Spray short bursts at a 45-degree angle between the keys.
- Move in a zig-zag pattern to cover all gaps.
💡 No compressed air? Use a soft brush or a vacuum on low power (cover the nozzle with a cloth to prevent static).
Step 4: Wipe Down the Keys and Surface
- Dampen a microfiber cloth with isopropyl alcohol.
- Gently wipe each key and the keyboard’s surface.
- Avoid soaking the cloth—too much liquid can damage the keyboard.
Step 5: Deep Clean Between the Keys
- Dip a cotton swab in alcohol and clean around the edges of each key.
- Use a soft-bristle brush to scrub stubborn dirt.
- For sticky residue, let the alcohol sit for a few seconds before wiping.
Step 6: Remove and Clean Keycaps (Mechanical Keyboards Only)
- Use a keycap puller (never pull keys with your fingers—they can break!).
- Soak keycaps in warm, soapy water for 10-15 minutes.
- Scrub gently with a soft brush, rinse, and dry completely before reattaching.
⚠️ Laptop keys are fragile! Avoid removing them unless you know how.
Step 7: Disinfect the Keyboard
- Wipe the entire keyboard with a disinfectant wipe or alcohol-dampened cloth.
- This kills bacteria and keeps your keyboard hygienic.
Step 8: Let It Dry Completely
- Before reconnecting or turning on the keyboard, wait at least 30 minutes.
- If you spilled liquid, let it dry for 24-48 hours upside down.

How to Clean a Laptop Keyboard (Without Damaging It)
Laptop keyboards are more delicate, so follow these extra precautions:
✔ Use less liquid – A slightly damp cloth is enough.
✔ Never pry off keys – They can snap easily.
✔ Blow dust out sideways – Avoid pushing debris deeper inside.
✔ Use a silicone keyboard cover – Prevents dust and spills.
How to Fix a Keyboard After a Spill
If you spill water, coffee, or soda on your keyboard:
1️⃣ Unplug/Turn off immediately.
2️⃣ Tilt it to drain the liquid.
3️⃣ Blot with a dry cloth (don’t rub—it spreads liquid).
4️⃣ Let it dry upside down for 24-48 hours.
5️⃣ If sticky, clean with isopropyl alcohol after drying.
⚠️ If keys still don’t work, the keyboard may need professional repair.
How Often Should You Clean Your Keyboard?
| User Type | Recommended Cleaning Frequency |
|---|---|
| Casual user | Once a month |
| Heavy typist/gamer | Every 2 weeks |
| Eats at desk often | Weekly |
| Spilled something | Clean immediately |
A quick daily wipe with a microfiber cloth helps prevent buildup.
Top 5 Keyboard Cleaning Mistakes
🚫 Using too much liquid → Can damage circuits.
🚫 Removing laptop keys forcefully → They can break.
🚫 Using paper towels → Leaves scratches and fibers.
🚫 Ignoring spills → Causes sticky, non-working keys.
🚫 Using Windex or bleach → Ruins plastic and coatings.
Best Keyboard Cleaning Products
- Compressed air (best for dust removal)
- Isopropyl alcohol (70%) (safe for electronics)
- Microfiber cloth (scratch-free cleaning)
- Keycap puller (for mechanical keyboards)
DIY Keyboard Cleaning Hacks
- No compressed air? Use a soft makeup brush.
- Sticky keys? Rub with a cotton swab dipped in alcohol.
- Bad smell? Lightly wipe with a cloth dampened with vinegar (then wipe with water).
How to Keep Your Keyboard Clean Longer
✔ Wash hands before typing – Reduces oil buildup.
✔ Avoid eating over the keyboard – Crumbs are the #1 enemy.
✔ Use a keyboard cover – Silicone covers protect from spills.
✔ Store it properly – Cover when not in use to prevent dust.
FAQ: Most Googled Questions About Cleaning Keyboards
1. Can I use water to clean my keyboard?
No, water can damage electronics. Use isopropyl alcohol instead—it evaporates quickly.
2. How do I clean sticky keys?
Use a cotton swab dipped in alcohol and gently rub around the key.
3. Can I put my keyboard in the dishwasher?
Never! The heat and water will destroy it.
4. Why are some keys not working after cleaning?
Liquid may have seeped inside. Let it dry for another 24 hours. If still broken, it may need repair.
5. Can I use hand sanitizer to clean my keyboard?
No, it leaves residue. Stick to pure isopropyl alcohol.
6. How do I remove dust under the keys?
Use compressed air or a soft brush, then tilt the keyboard to let debris fall out.
7. Is it safe to remove keys for cleaning?
Only on mechanical keyboards. Laptop keys break easily.
8. How do I clean a backlit keyboard?
Same as a regular keyboard, but avoid excess liquid near the LED lights.
9. Can I use a vacuum cleaner on my keyboard?
Yes, but use low suction and cover the nozzle with a cloth to prevent static.
10. How do I clean a white keyboard without yellowing?
Use isopropyl alcohol and keep it out of direct sunlight.
Final Thoughts
Cleaning your keyboard regularly keeps it working smoothly and extends its lifespan. Whether you’re dealing with dust, spills, or sticky keys, this guide covers every method safely and effectively.
Got a keyboard cleaning tip we missed? Share it in the comments!
Happy typing! ⌨️✨
В сервисе бронирования отелей вы сможете без труда забронировать номер. С помощью современных сервисов вы можете легко выбрать отель и оформить бронь.
[url=https://official-hotel.ru/]Забронировать отель в сервисе бронирования отелей[/url]
Выбор отеля — это важный этап подготовки к поездке. Необходимо учитывать расположение, услуги и отзывы других путешественников.
Важно внимательно изучить правила и условия, связанные с бронированием отеля. Часто существуют ограничения по отмене, предоплате и срокам пребывания.
Наконец, не забудьте подтвердить свою бронь и сохранить все необходимые данные. Внимание к деталям поможет избежать неприятных ситуаций при заселении.